Understanding the Evolution of CS2 Graphics: From Pixels to Art
As we delve into the evolution of CS2 graphics, it's vital to appreciate the monumental shift from simple pixel art to immersive visual experiences. During the early days of computer graphics, limitations in hardware and software meant that developers had to rely heavily on pixel art, creating characters and landscapes using a limited color palette and resolution. This necessitated a deep understanding of design principles to craft visuals that could captivate players, often relying on innovation to make the best use of available resources. Over time, advancements in technology paved the way for more complex graphics engines, allowing developers to integrate richer textures, more detailed models, and dynamic lighting effects, all of which contributed to a visually stunning gaming landscape.
Today, when we discuss CS2 graphics, we see a remarkable standard of artistry and technical achievement. The transition from static, pixel-based images to 3D rendered environments showcases the blend of creativity and technological prowess that defines modern graphic design in gaming. Game developers now employ sophisticated tools and algorithms to simulate real-world physics, create animations that breathe life into characters, and design expansive worlds that players can explore. This journey from pixels to art not only reflects the advancements in graphics technology but also highlights a growing appreciation for visual storytelling in gaming, where every frame can evoke emotion and immerse players in unforgettable experiences.
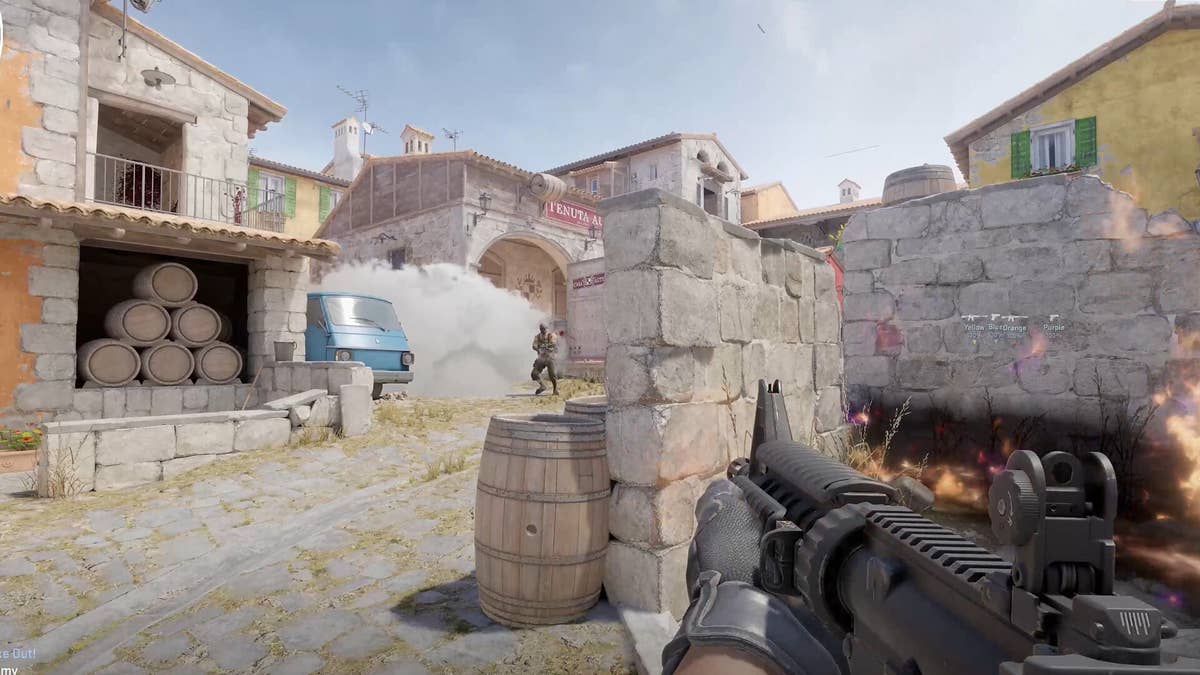
Counter-Strike is a popular team-based first-person shooter that has captivated gamers worldwide since its initial release. Players can choose from various game modes and maps, employing strategy and teamwork to defeat their opponents. One of the essential aspects of gameplay involves utilizing weapon commands to enhance their arsenal and gain a competitive edge.
Top Tips for Creating Stunning Graphics in CS2
Creating stunning graphics in CS2 starts with understanding its tools and features. Familiarize yourself with the workspace, including the toolbar and layers panel, as these are essential for efficient design. Here are some top tips to get you started:
- Utilize Layers: Keep your elements organized by using layers. This will make it easier to edit individual components without affecting the overall design.
- Experiment with Textures: Incorporating textures can add depth to your graphics. Experiment with different textures and blend modes to enhance your creations.
Another important aspect of creating impressive graphics is color selection. A harmonious color scheme can significantly impact the aesthetics of your work. Consider the following techniques to improve your color choices:
- Use Color Palettes: Leverage online tools or pre-made palettes to find complementary colors that can make your design pop.
- Adjust Opacity: Adjusting the opacity of layers can create interesting effects and allow for smoother transitions between colors.
How to Optimize Your CS2 Graphics for Maximum Impact
Optimizing your CS2 graphics is essential for achieving maximum visual impact while maintaining optimal performance. Start by adjusting your graphics settings in the game launcher. Consider lowering settings such as texture quality and shadow detail to reduce lag, especially on less powerful hardware. Additionally, using lower resolutions can improve frame rates without sacrificing too much in terms of visual fidelity. To access these settings, navigate to the Options menu and experiment with the various options until you find the perfect balance that suits your system's capabilities.
Beyond in-game settings, there are other crucial factors to consider. Ensure that your graphics drivers are up to date, as manufacturers frequently release updates that can enhance performance and stability. Using tools like FPS monitor can help you track your frame rates and make informed adjustments. Furthermore, optimizing your in-game HUD and minimizing clutter can improve focus and visual clarity, allowing for a more immersive experience. Remember to regularly review and tweak these settings as you gain a deeper understanding of the game mechanics and your personal preferences.